Create Your Custom Brush in Photoshop
Axel Alvarado ChávezHave you ever wanted to add special effects to your photos?
With the Photoshop brush, it's possible and easy. Rays of light, clouds, grass, and more can all be achieved. Don't let your creativity stop you :)

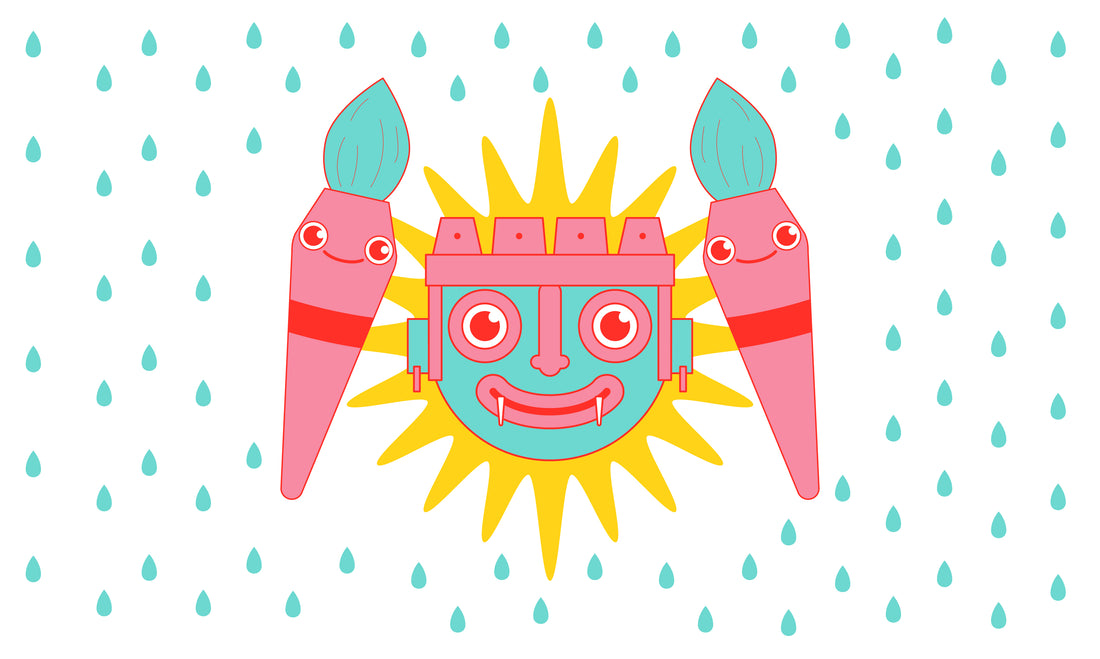
Today we'll teach you how to make a raindrop brush ( Tlaloc approves of this tutorial). And if you want to take things a step further, check out our tutorial on how to make a Photoshop montage .
Blank canvas.
Open a new file.

Create a blank canvas. We recommend a square one because it's easier to manage. Don't make it larger than 2400 pixels ; in Photoshop, that would be too large for a brush and won't allow you to create your custom brush.
Paint a shape.

Create a new transparent layer and make a dot with the black brush. It's that simple.
The strength and shape of your initial stroke depend greatly on the effect you want to achieve. For example, if you're creating a snowflake brush stroke, you'll need to paint the snowflake shape from this point.
Transform your shape.

Transform your black dot until it's the ideal shape. Use the Liquify filter and/or the Transform function (Ctrl + T) to achieve this.
Put away your brush.

Go to "Edit/Define Brush Preset." A window will appear asking you to name your new custom brush; we'll call it "Rain." Click OK and it's ready to use.
Dynamic brush.
Brush settings menu.

Rain is made up of thousands of drops of different shapes. Unless you're into artisanal craftsmanship, there's a way to make our drop fall randomly.
Go to the "Brush Settings" menu and start with the "Brush Tip Shape" section. Here you can change the brush spacing, angle, and size. Below, Photoshop will give you a preview of what it will look like when you start painting.

In the "Shape Dynamics" section, you can modify the size variation so that not all drops are the same size.
Finally, go to the "Scatter" section to have the drops spread all over the place instead of all in one place. You can even modify the number of drops you want to be painted per click.
Don't hesitate to do test paints every time you move something, so you can see the real effects of your modifications.
Add realism to your brush.


In this menu, you can modify the angle of fall and the intensity of the rain. It all depends on the effect you're looking for; it could be a light rain or a downpour.

We recommend creating several layers of rain: one falling on your main character, one falling behind them, and one in front of them. Keep in mind that the drops will appear larger the closer they are to the camera.
If you have a lot of drops in some area, you can remove or fade them with a layer mask .
Refine your rain until you have the effect you want and that's it.

Don't forget to show us your results on Instagram :) On Mondays we share the coolest work of the week.