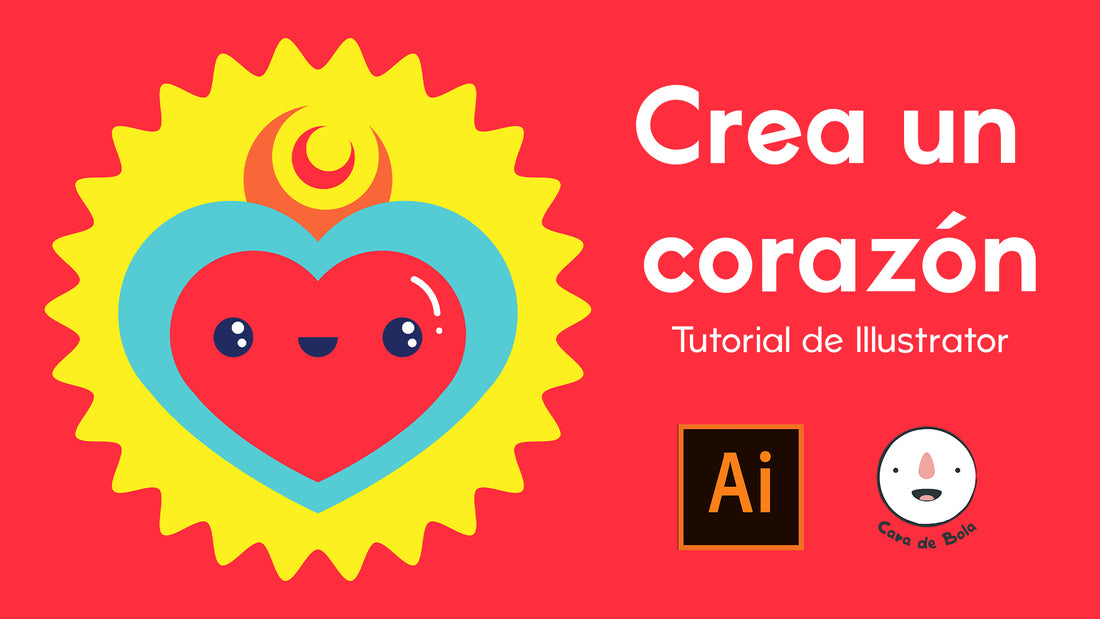
Create a Heart - Illustrator Tutorial
Axel Alvarado ChávezToday we'll make a simple vector illustration in Adobe Illustrator of a beautiful little heart to celebrate the love that surrounds us all.
Follow the step-by-step tutorial here:
Creating the Heart

The first thing to do is create two small circles that overlap slightly, and a large circle that's the size of the two small circles. We'll align the three shapes horizontally.
 Later with Convert Anchor Point (P + ALT) we will create a pointed corner in the large circle and then we will erase the upper half with Direct Selection (A) and close the path.
 Using Pathfinder , we'll click the Unite option so the three shapes become one: a heart! Then we'll copy the heart and make it smaller to create an outline.
Creating the fire

A Mexican heart is passionate and fiery, so it must have fire. We'll synthesize the flames with two circles (one smaller than the other) and use Pathfinder again, but this time selecting Minus Front to subtract elements. Then we'll copy the shape, reduce its size, and resize it.
Creating the light

For the light we will make a yellow circle behind the heart and we will use the Zig Zag effect putting the tips in smooth mode so that everything comes out round and pretty.
Final details

For the final details, we'll add some highlights with the Brush (B) and white circles for the eyes. We'll also add a red background. And that's it!
We hope this tutorial has been helpful, and don't forget to tag us on Instagram to see all the beautiful things you've made.