Grain texture in Illustrator
Axel Alvarado ChávezToday we'll use the grain or noise effect so you can apply it to your illustrations and make them look super cool. It's very easy to do and there's no need to use brushes or anything like that.
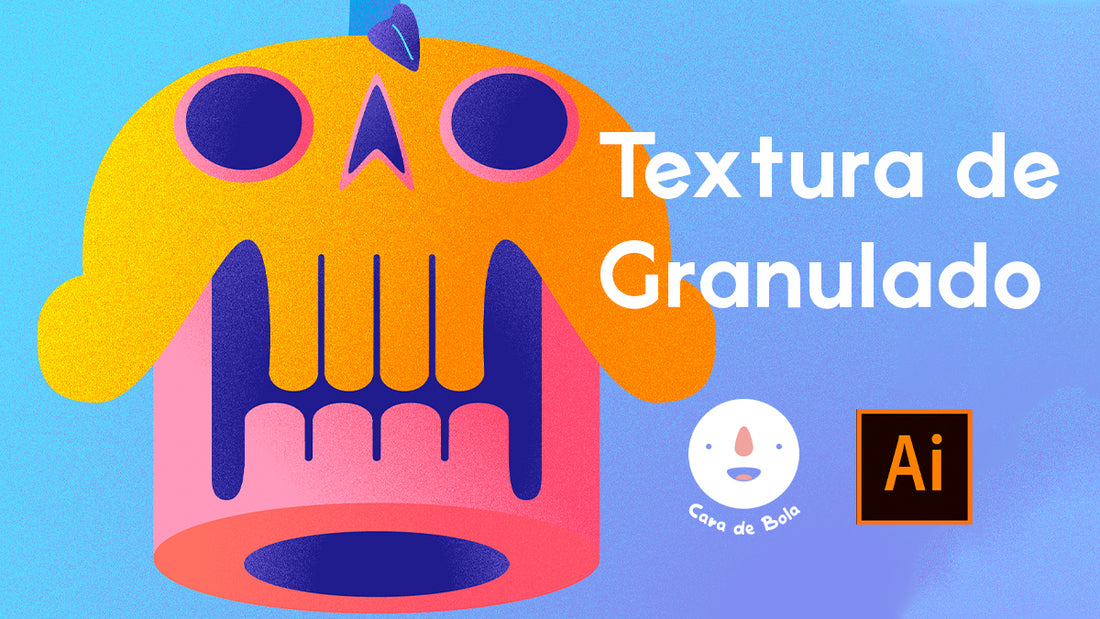
We made this video for you to see how to do it and to see the process of making this little skull:
Step 1: Create a shape

To exemplify the application of the texture we will use a pink square, we will copy it (Cmnd + C) and paste it in the same place (Cmnd + Shift + V), and we will change the color of this last square to blue.
Step 2: Make mask

Following this, with the blue square selected, we'll create a mask by going to Window > Transparency and clicking Make Mask . Once the mask is created, we'll click the square on the right side of the Transparency menu and uncheck the Clip option.
Step 3: Gradient Tool

What we need to do now is create a new square inside the mask and activate the Gradient option. With the Gradient Tool (G), we can vary the slope and how this effect behaves.
Step 4: Granular Texture

Finally, we go to Window > Appearance and click Effects (fx) > Grain . A new window will appear where we can adjust the texture's amount and contrast. Click OK and that's it! Our effect is now applied.

We hope you find these tips helpful, and don't forget to show us everything you do on our Instagram !